Character Attack Animations Pt. 2
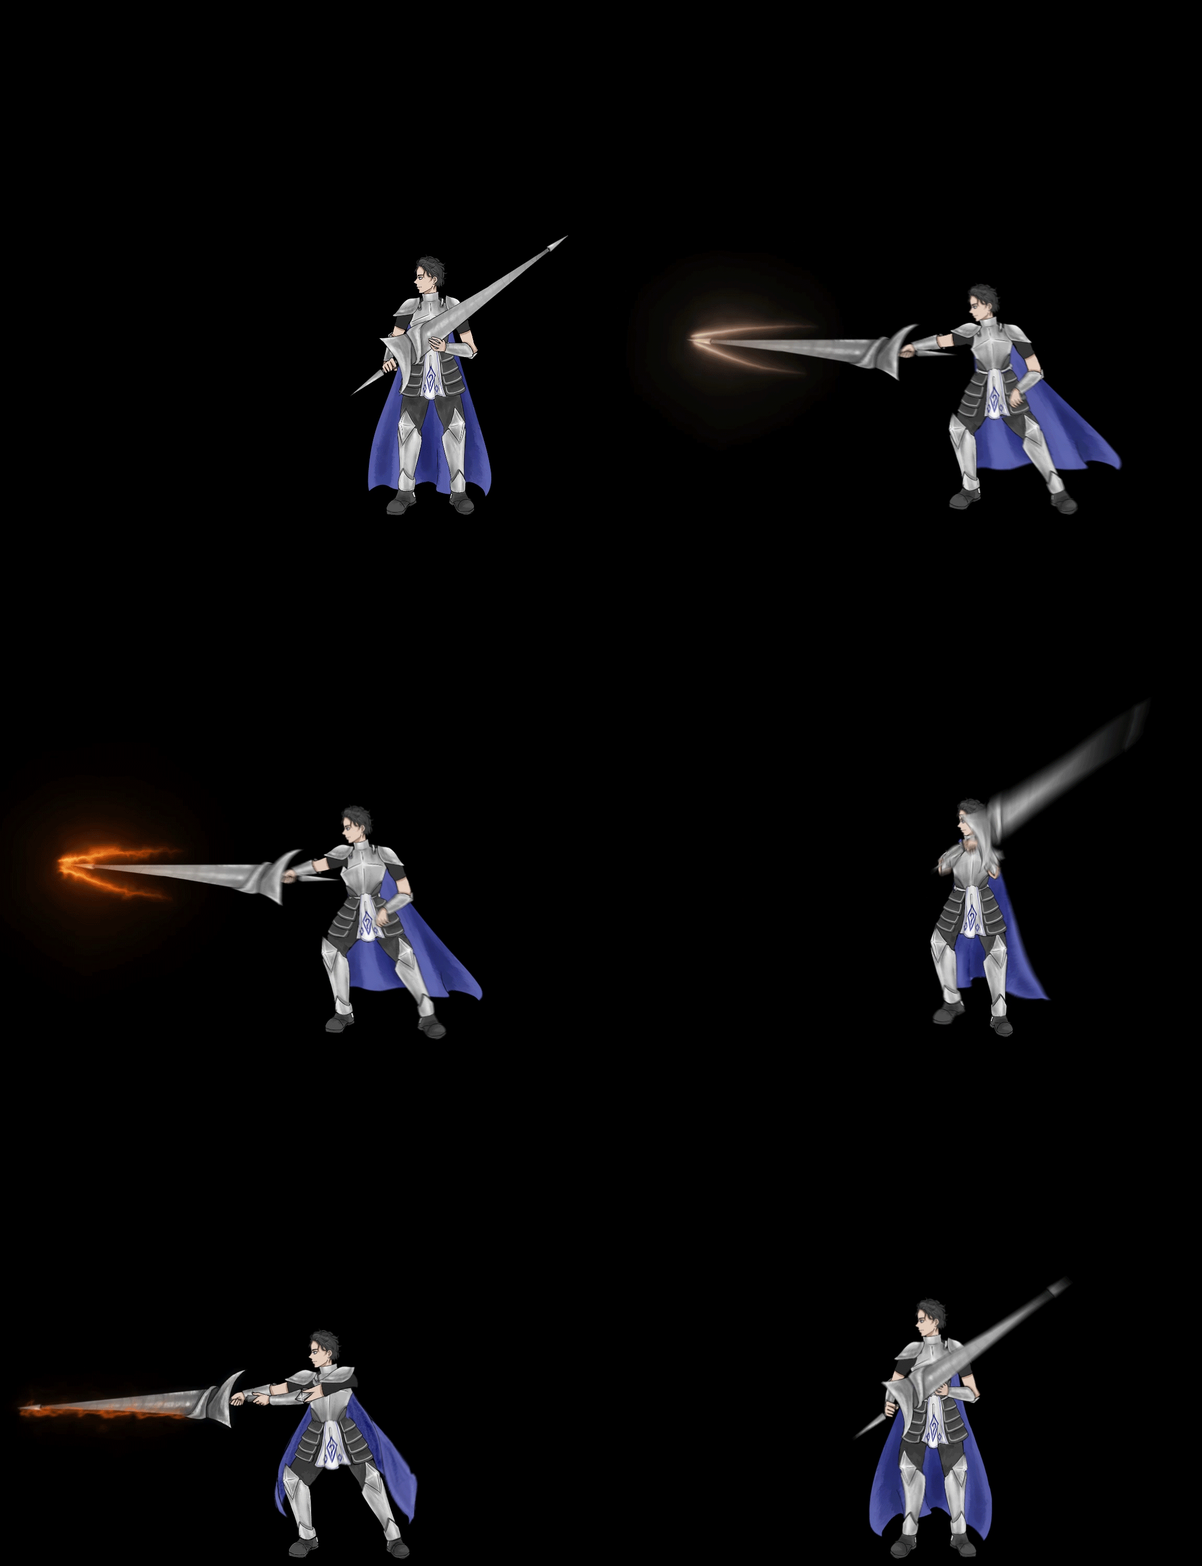
Hello, today I am going to go over the second half of the animations. This is where the animation is smoothened out and where more complicated effects get added. Lets take a look at how Alexander the Great is altered:

A lot of fun stuff is going on here so lets take a look at how I put this together!
Animation Smoothing

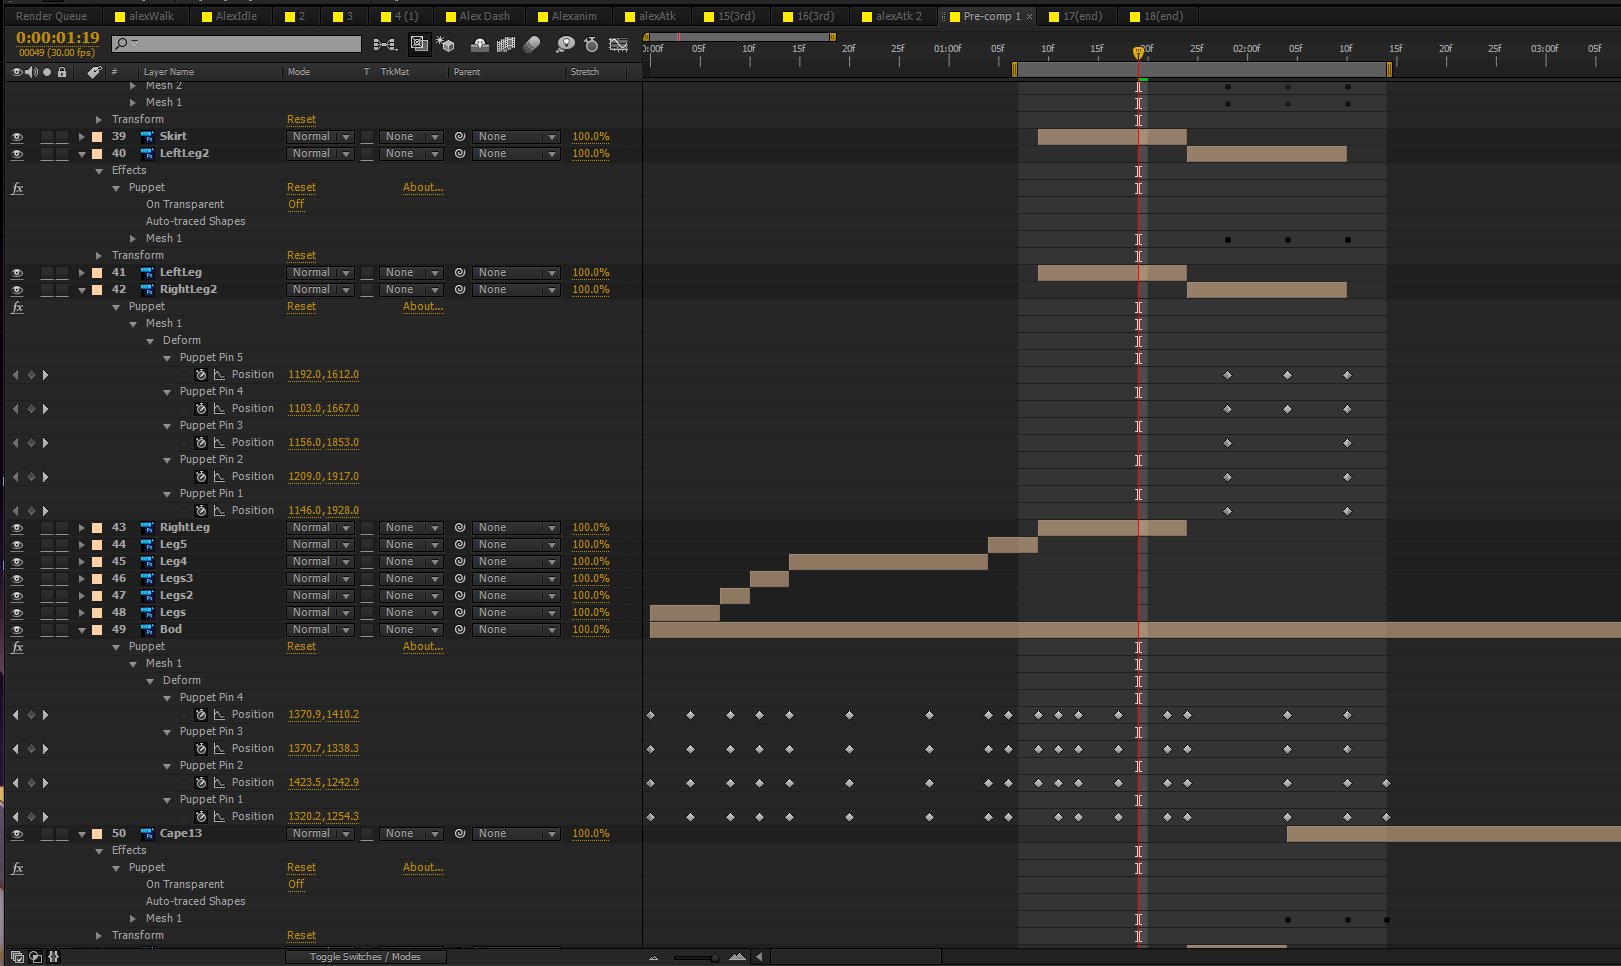
If you have any experience in After Effects this should look like your generic, messy and overcomplicated, timeline. Essentially, using the puppet tool I am able to move the character’s joints through each frame. The only issue with this is that it distorts the character greatly the more complicated the animation is. By combining the puppet tool and cutting between the key images given by Michelle we are able to achieve a much smoother animation. The boxes in the figure represent the different images, and the diamonds represent the puppet tool transforming the image. I hope you can get an idea of how a character may be cut up and altered overtime from this image.
Effects

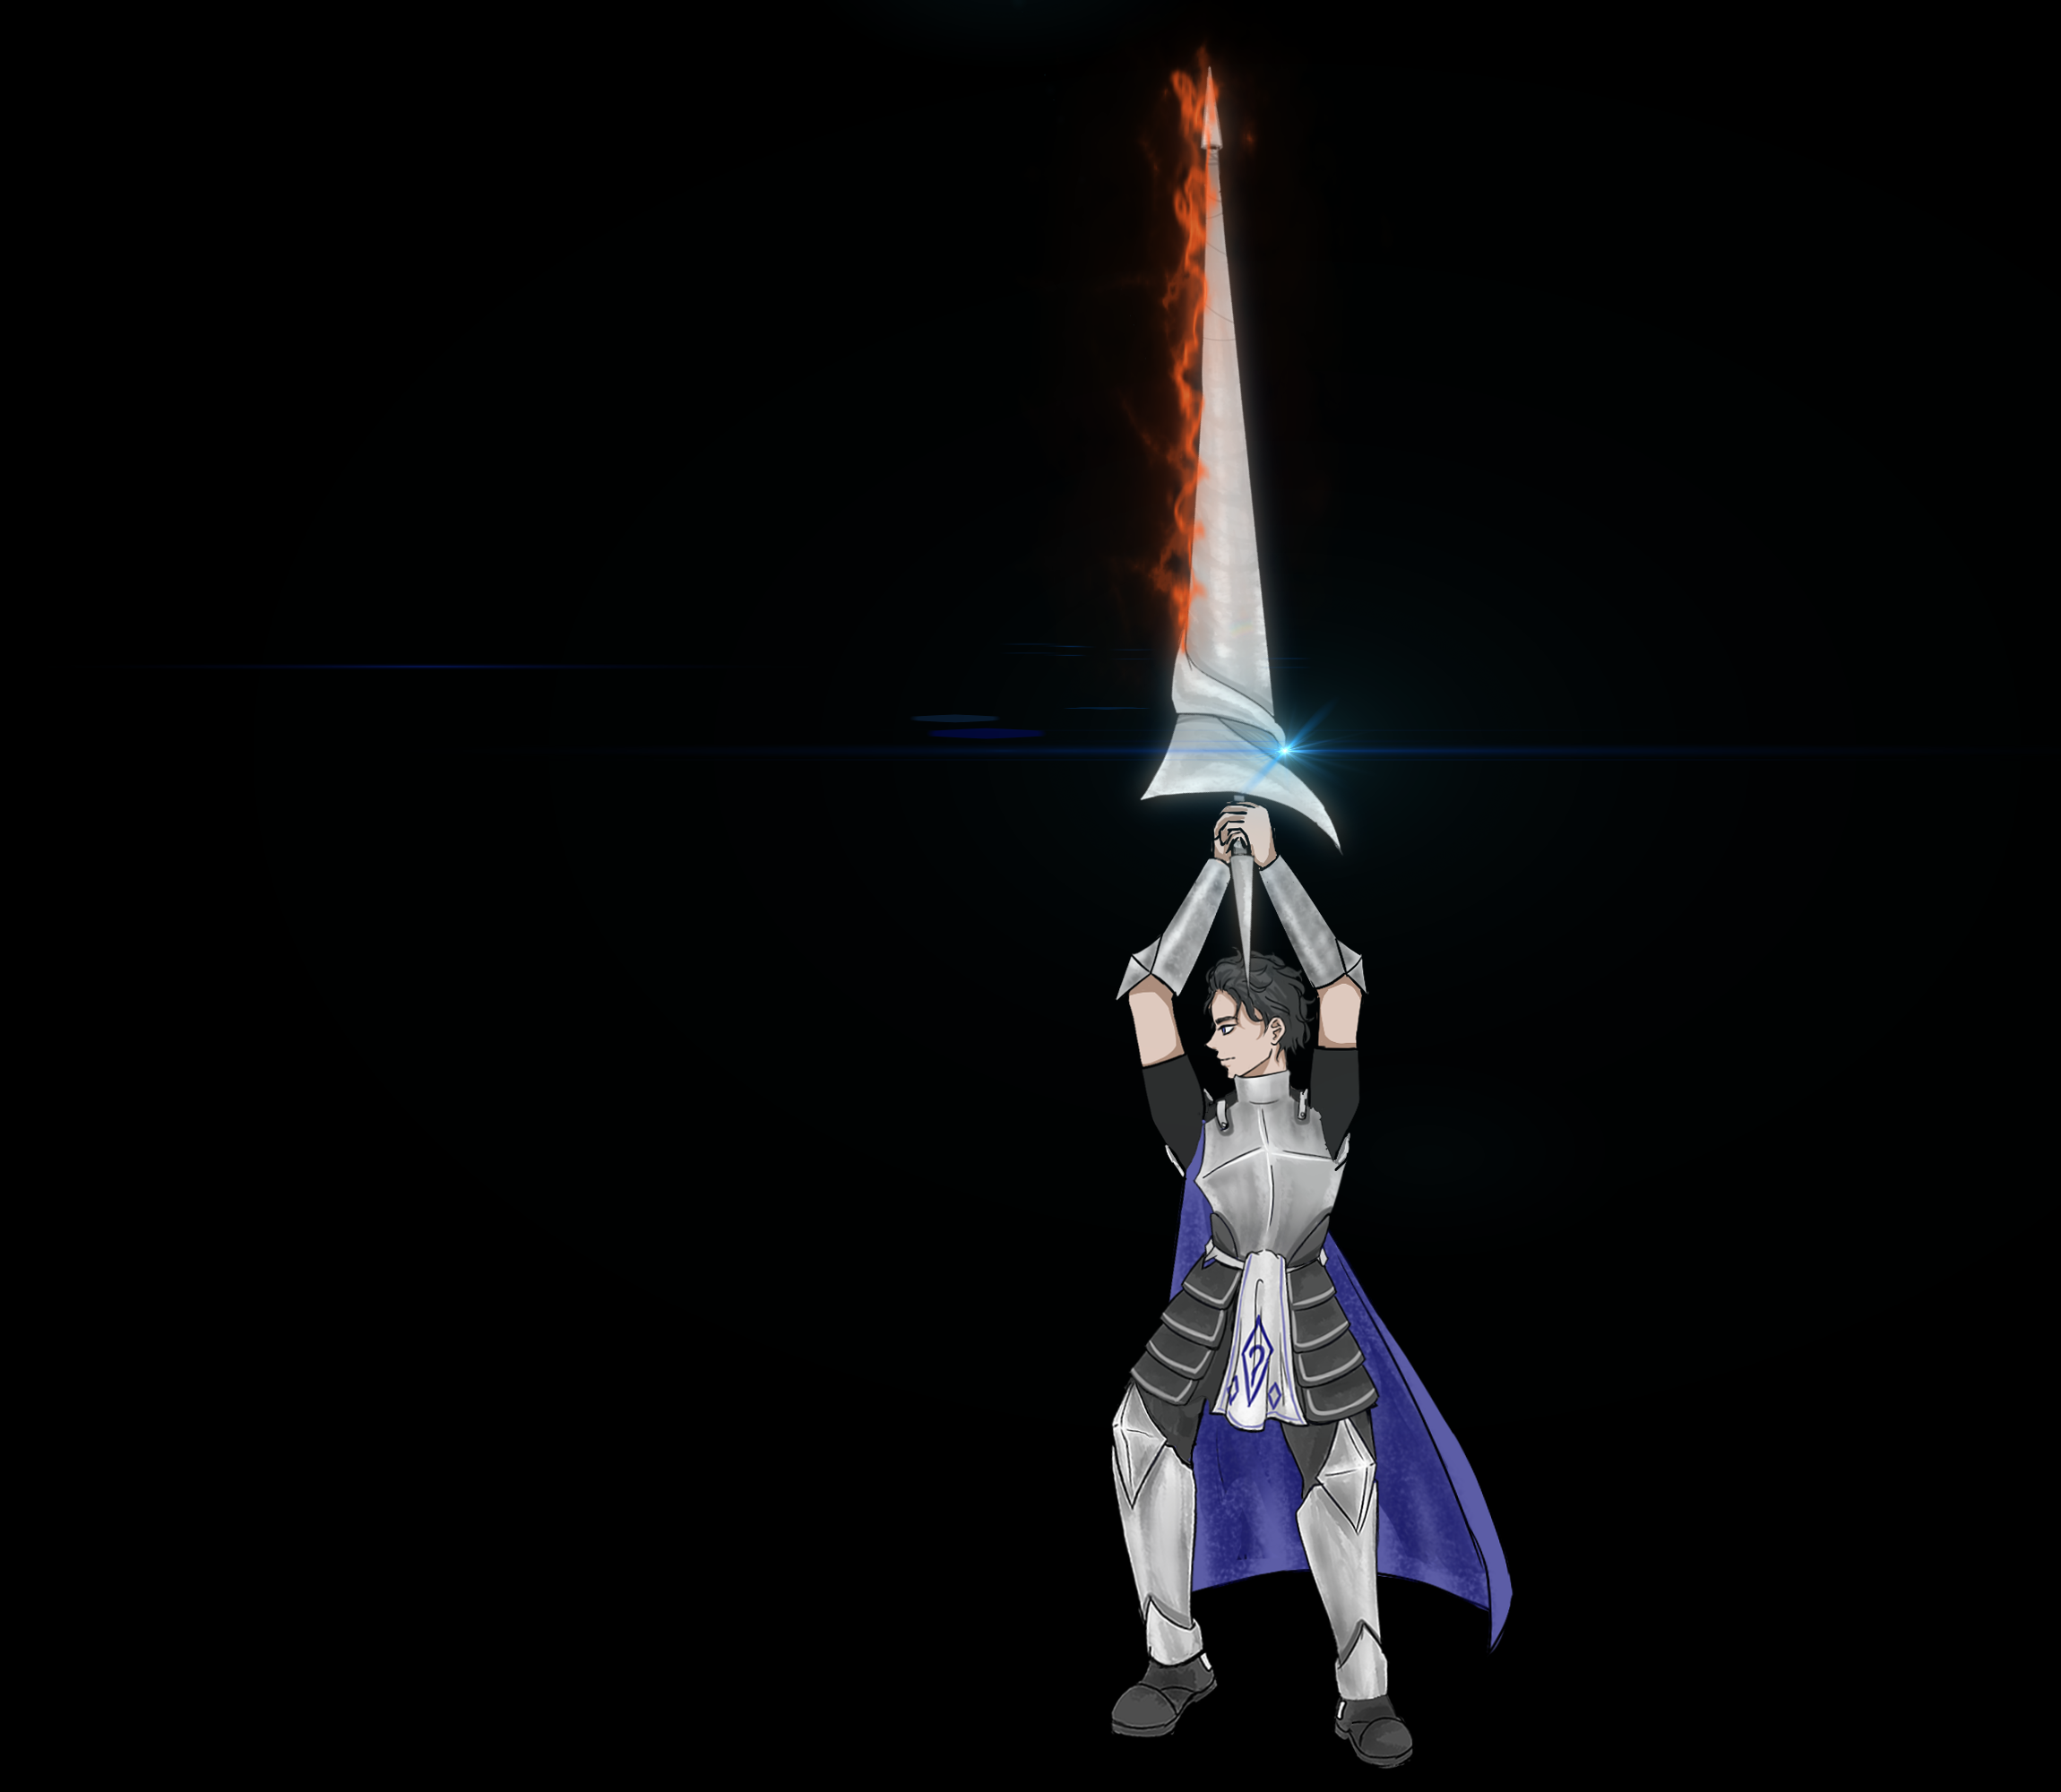
Due to the fact that we are taking a much more traditional approach to animating, we are able to have a lot of control in how our characters look and feel with the added benefit of adding effects which will remain consistent with the character. In the above shot I took advantage of Optical Flares and Saber from Video Copilot, as well as subtly using colour correction to allow different aspects of the character to pop. I also add motion blur to complete the animation. This is most definitely the best part of animating!
Lots of progress is being made but there is still much to do! Thanks for reading and I hope the above was helpful in anyway.
Take Care, -Kashif